


Welcome to RedEars, your go-to site for all things cardboard and crafting! Today, we’re diving into the world of musical instruments with a unique twist—the cardboard dulcimer. If you’re curious about how to make a dulcimer using cardboard or want to explore the creativity and sustainability of this craft, you’re in the right place.
What is a Dulcimer?
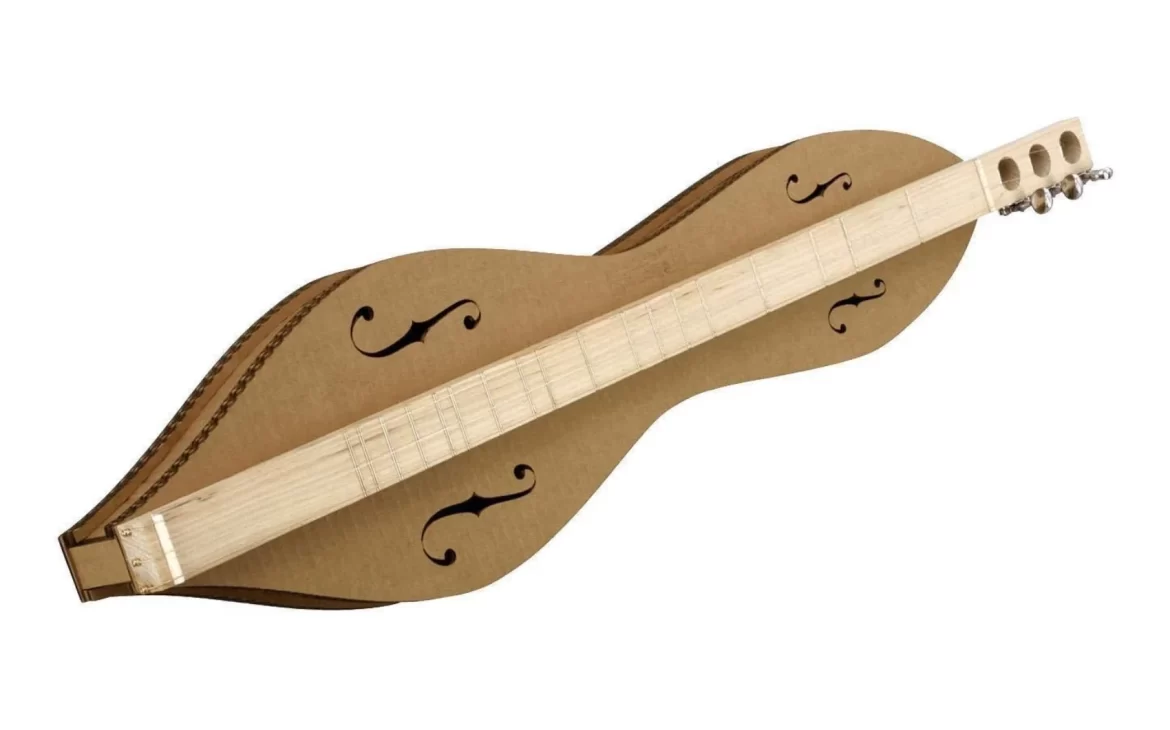
Before we dive into the construction of a cardboard dulcimer, let’s understand what a dulcimer is. The dulcimer is a stringed musical instrument that is part of the zither family. It has a long history, with roots in Appalachian folk music, and comes in various shapes and styles. The two most common types are the hammered dulcimer, played with small mallets, and the mountain dulcimer, played with fingers or a pick. In this blog, we’ll focus on creating a mountain dulcimer using cardboard.
Why a Cardboard Dulcimer?
Cardboard is a versatile, inexpensive, and sustainable material, making it perfect for crafting. By creating a dulcimer from cardboard, you not only tap into your creativity but also contribute to reducing waste. A cardboard dulcimer is lightweight, easy to transport, and can be customized in countless ways. Whether you’re a seasoned crafter or a beginner, this project is an excellent way to explore the intersection of music and craft.
Materials and Tools You’ll Need
To create your own cardboard dulcimer, you’ll need the following materials and tools:
Materials:
- Thick corrugated cardboard (double-wall or triple-wall)
- Wooden dowels (for reinforcement)
- Guitar strings
- Tuning pegs or zither pins
- Decorative paper or fabric (for finishing)
- Glue (wood glue or strong craft glue)
- Clear varnish or sealant
- Ruler and pencil
- Cardboard tube or cylindrical object (for frets)
Tools:
- Utility knife or craft knife
- Cutting mat
- Ruler or straight edge
- Drill and drill bits (for tuning pegs)
- Sandpaper
- Clamps
Designing Your Cardboard Dulcimer
The first step in creating your cardboard dulcimer is designing the shape and layout. The mountain dulcimer typically has a long, rectangular body with a curved top. Here are some design considerations:
Body Shape: Decide on the overall shape of your dulcimer. A simple rectangular design with slightly rounded edges is a good starting point. Consider adding a slight arch to the top for aesthetics.
Neck Length: Determine the length of the neck and the number of frets. A standard dulcimer neck is around 26 to 28 inches long with 12 to 15 frets.
Soundholes: Include one or more soundholes in your design to allow sound to resonate. These can be simple circular holes or more intricate designs.
Creating the Cardboard Dulcimer
Once you have your design, it’s time to start building your dulcimer.
Step 1: Cutting the Body
- Use your design to mark the outline of the dulcimer’s body on the corrugated cardboard.
- Carefully cut along the outline using a utility knife and a straight edge. You’ll need two identical pieces for the top and bottom of the dulcimer.
Step 2: Creating the Sides
- Cut strips of cardboard to create the sides of the dulcimer. These should be long enough to wrap around the body and about 2 to 3 inches wide, depending on the desired thickness of the instrument.
- Bend the strips to form the curved sides, using a cardboard tube or similar object to create smooth curves.
Step 3: Assembling the Body
- Glue the sides to the bottom piece of the dulcimer body, clamping them in place until the glue dries.
- Once the glue has set, attach the top piece to complete the body. Ensure all edges are sealed and reinforced.
Step 4: Adding the Neck and Frets
- Attach wooden dowels to reinforce the inside of the dulcimer body, creating a stable structure for the neck.
- Cut a narrow strip of cardboard to create the neck. This should be sturdy and reinforced with wooden dowels to prevent bending.
- Mark and attach frets along the neck, using cardboard tubes or cylindrical objects cut into sections.
Step 5: Installing Tuning Pegs and Strings
- Drill holes for the tuning pegs at the top of the neck.
- Install the tuning pegs or zither pins.
- Attach guitar strings to the bottom of the dulcimer body and run them along the neck, securing them to the tuning pegs.
Step 6: Finishing Touches
- Sand any rough edges and ensure all joints are secure.
- Apply decorative paper or fabric to the dulcimer’s body to give it a unique look.
- Seal the entire dulcimer with clear varnish or sealant to protect it from moisture and damage.
Playing Your Cardboard Dulcimer
With your cardboard dulcimer complete, it’s time to play! Tune the strings using the tuning pegs and experiment with different chords and melodies. The cardboard dulcimer produces a soft, mellow sound that is perfect for relaxing tunes or beginner practice.
Conclusion
Creating a cardboard dulcimer is a rewarding project that combines music and craft in a sustainable way. By using simple materials and tools, you can build a unique instrument that not only sounds great but also showcases your creativity. We hope this guide inspires you to try making your own cardboard dulcimer and explore the wonderful world of DIY musical instruments. Happy crafting and happy playing!